School settings
School-wide identity and operations: School ID, contacts, location cascade, currency, timezone, attendance window, MFA, and compliance files.
Who can use this
- ADMIN
Path
/admin/settings
Dependencies
- Tenant already provisioned; School ID is issued at signup and is read-only here.
- Branding assets are managed separately under Branding.
Screenshot
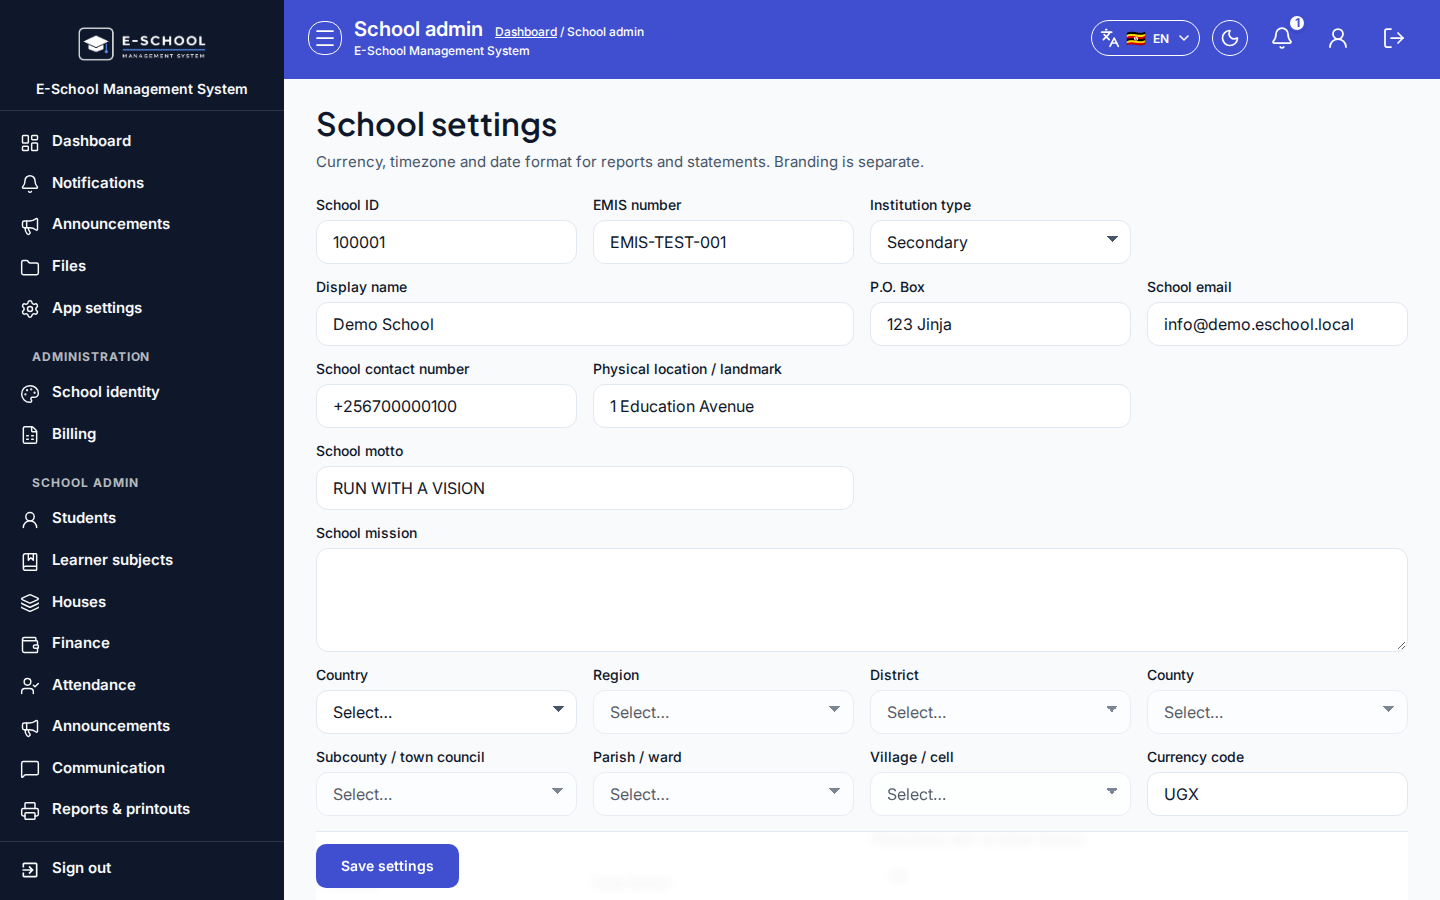
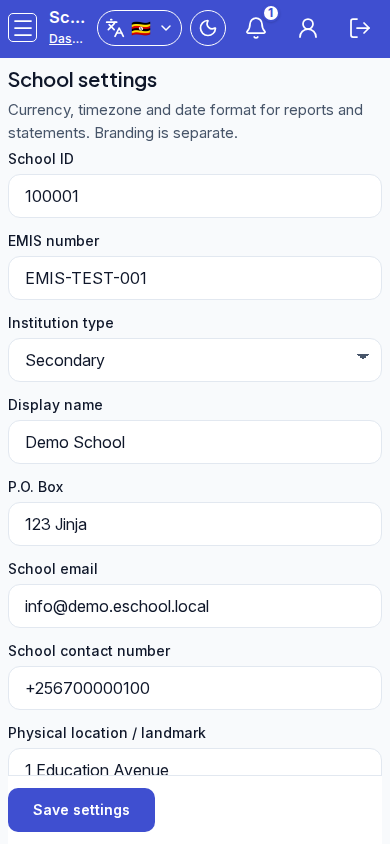
Steps
- Open School settings at
/admin/settingsas ADMIN.
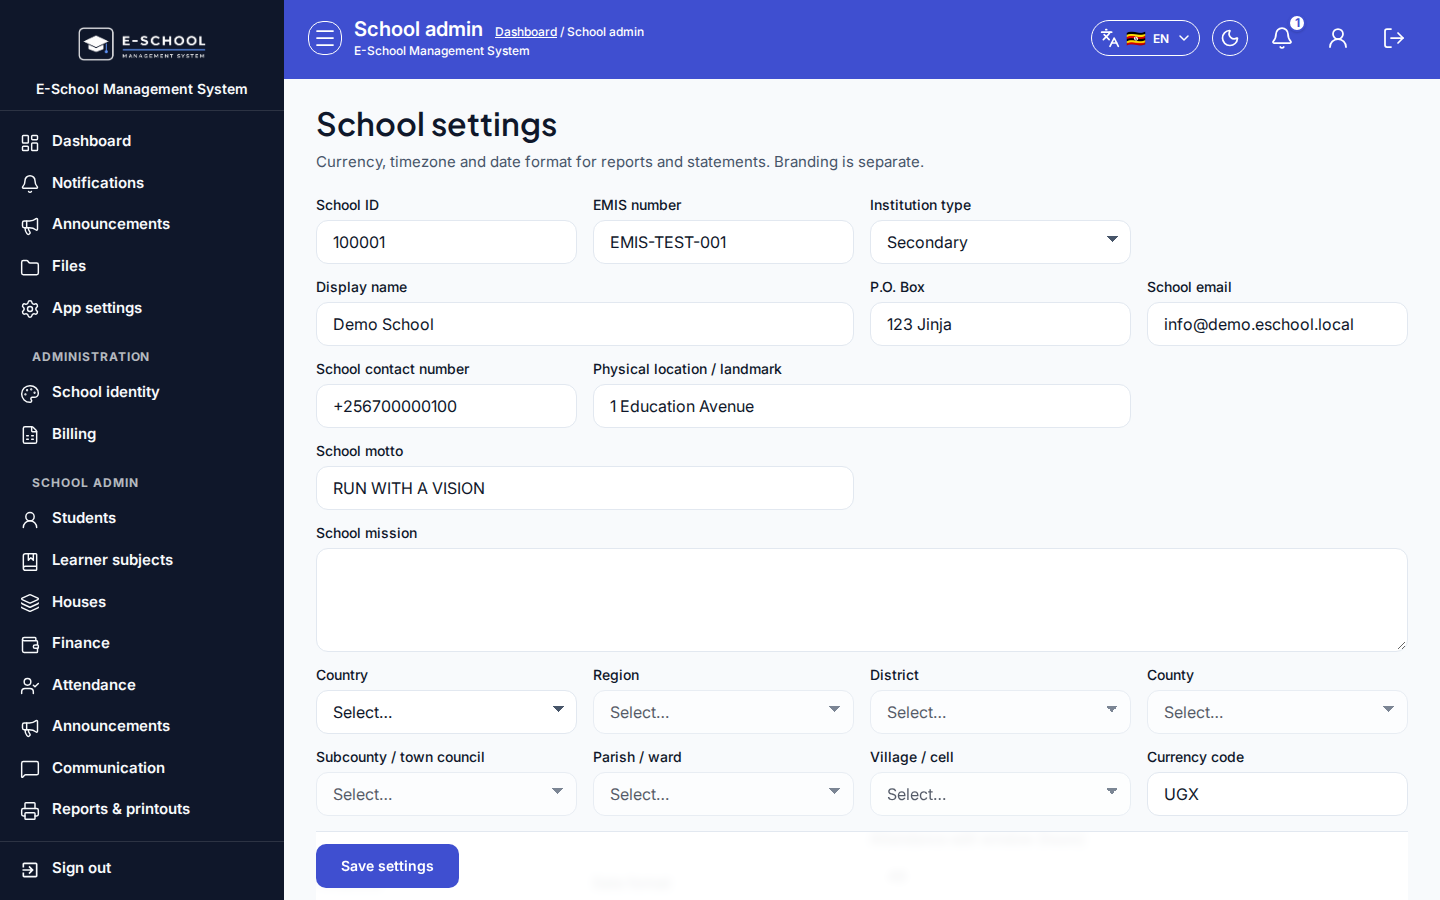 Desktop - focus for step 1
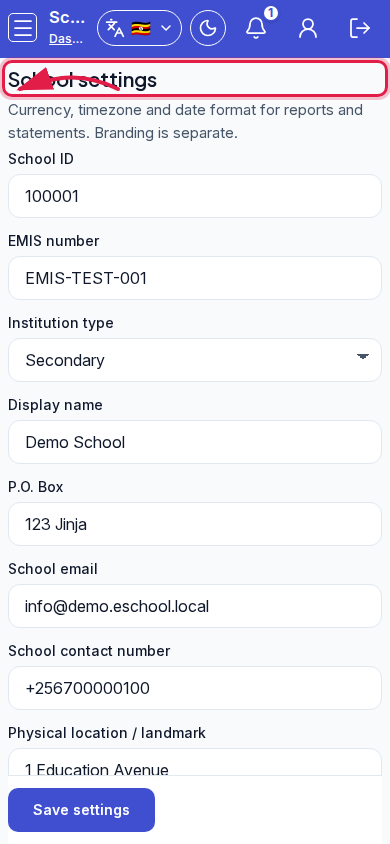 Mobile - focus for step 1
- Review read-only School ID and Display name. Fill EMIS, institution type, P.O. Box, email, contact, location/landmark, motto, and mission.
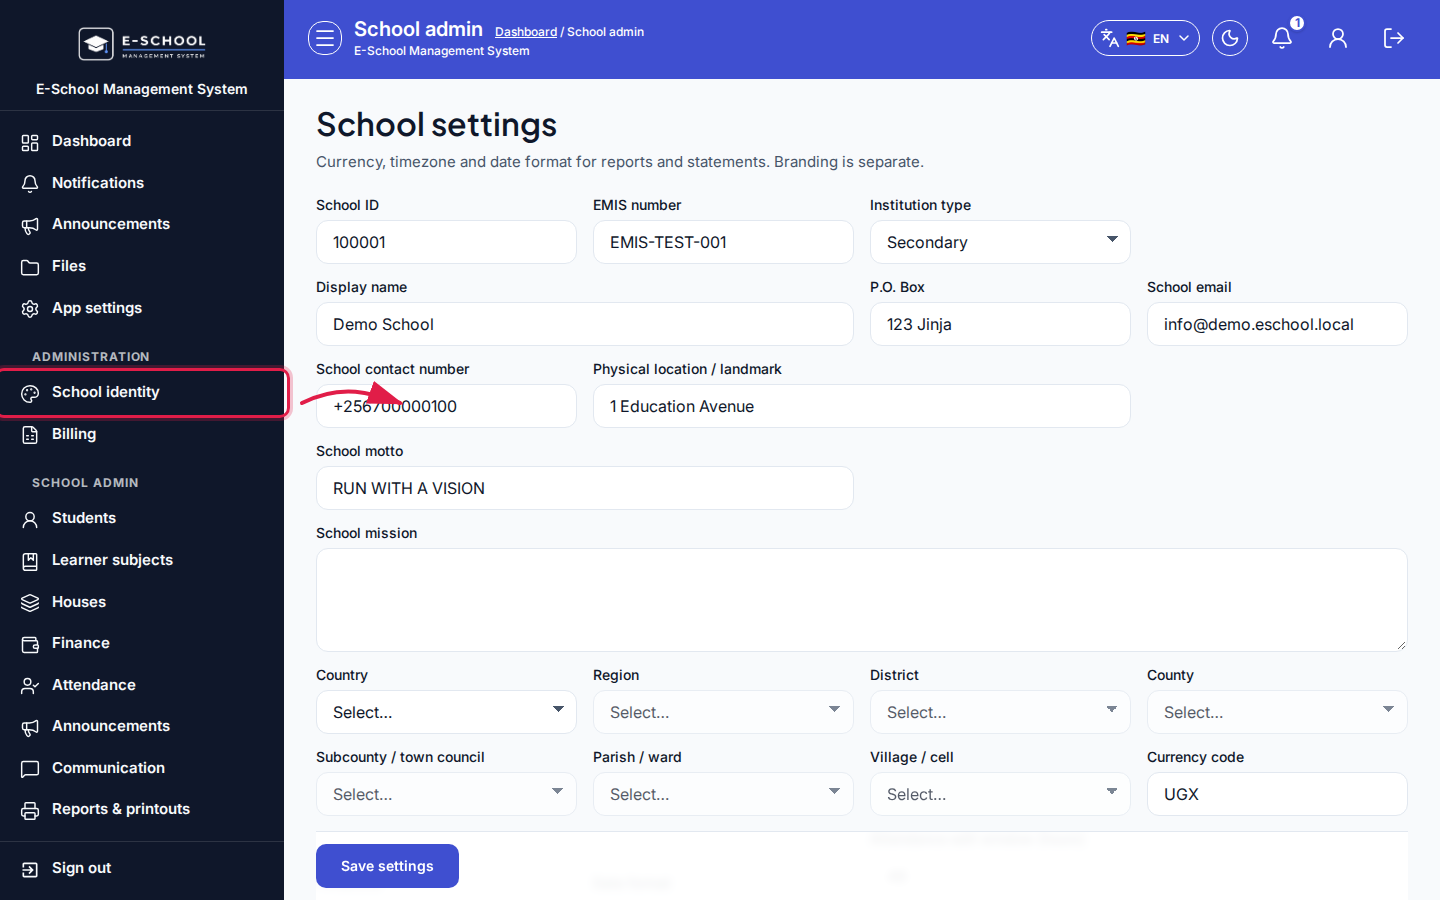 Desktop - focus for step 2
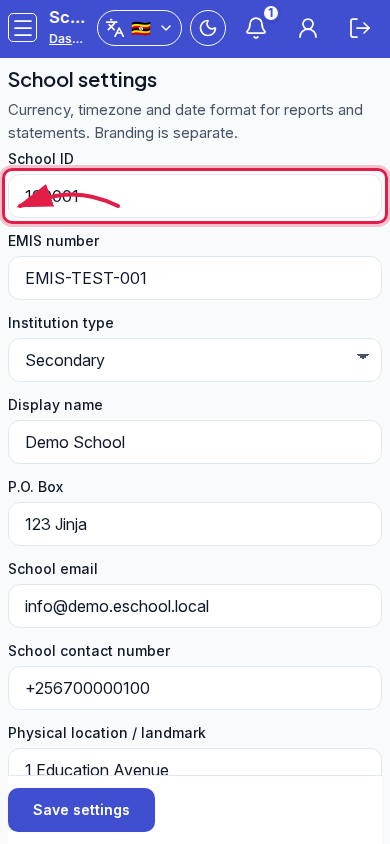 Mobile - focus for step 2
- Complete the geo cascade (Country through Village / cell). Set currency, timezone, date format, and attendance edit window (hours).
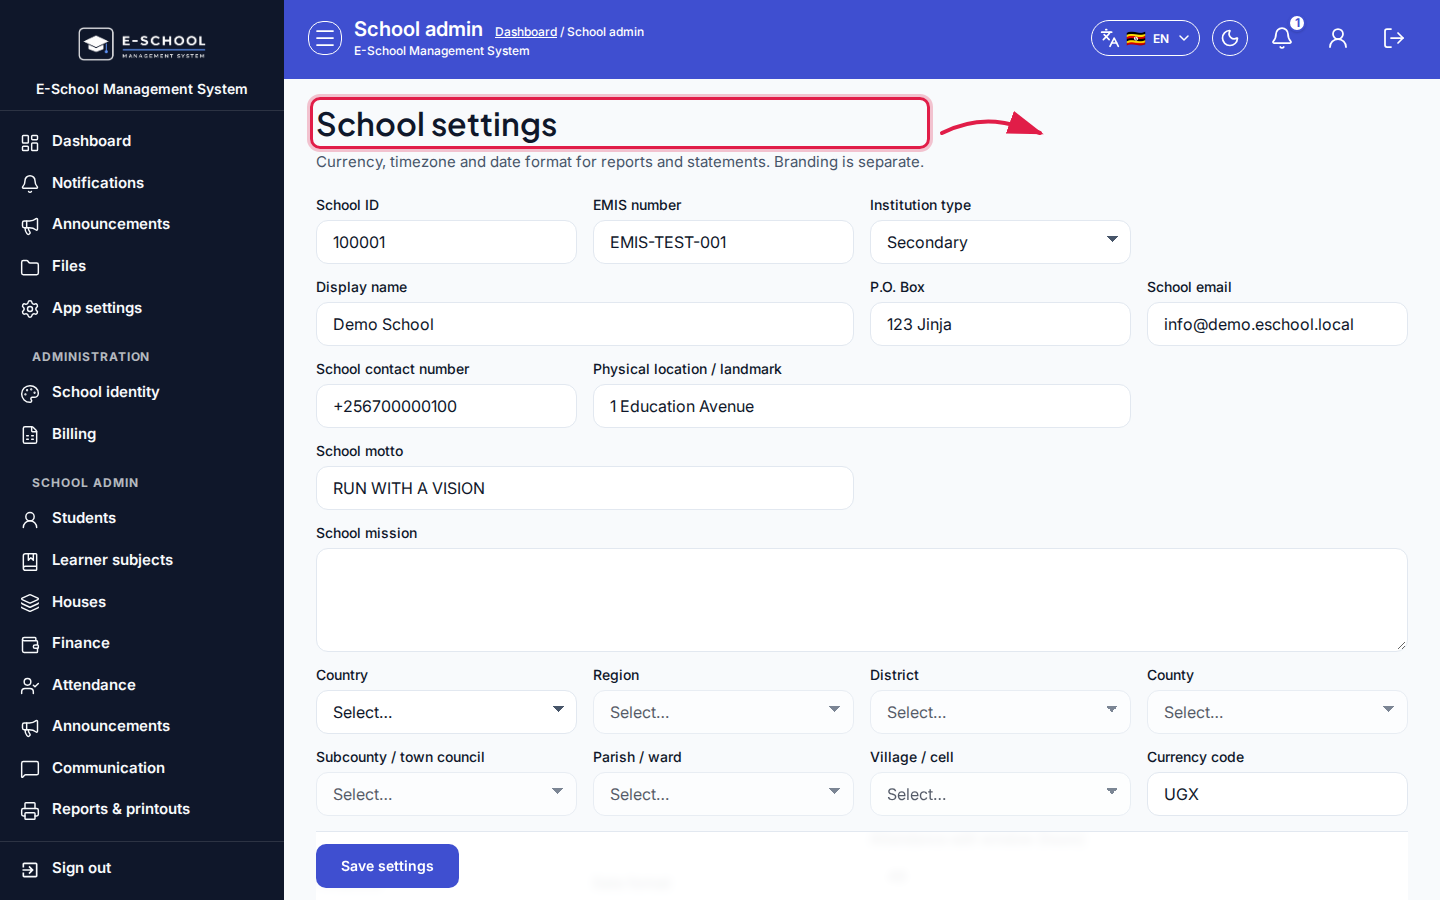 Desktop - focus for step 3
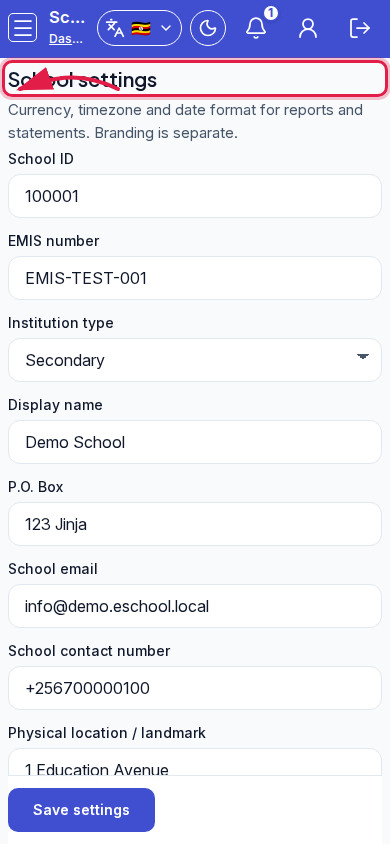 Mobile - focus for step 3
- Optionally tick Require MFA for staff. Under Compliance documents, Upload file / Replace file / Remove for fiscal and registration certificates.
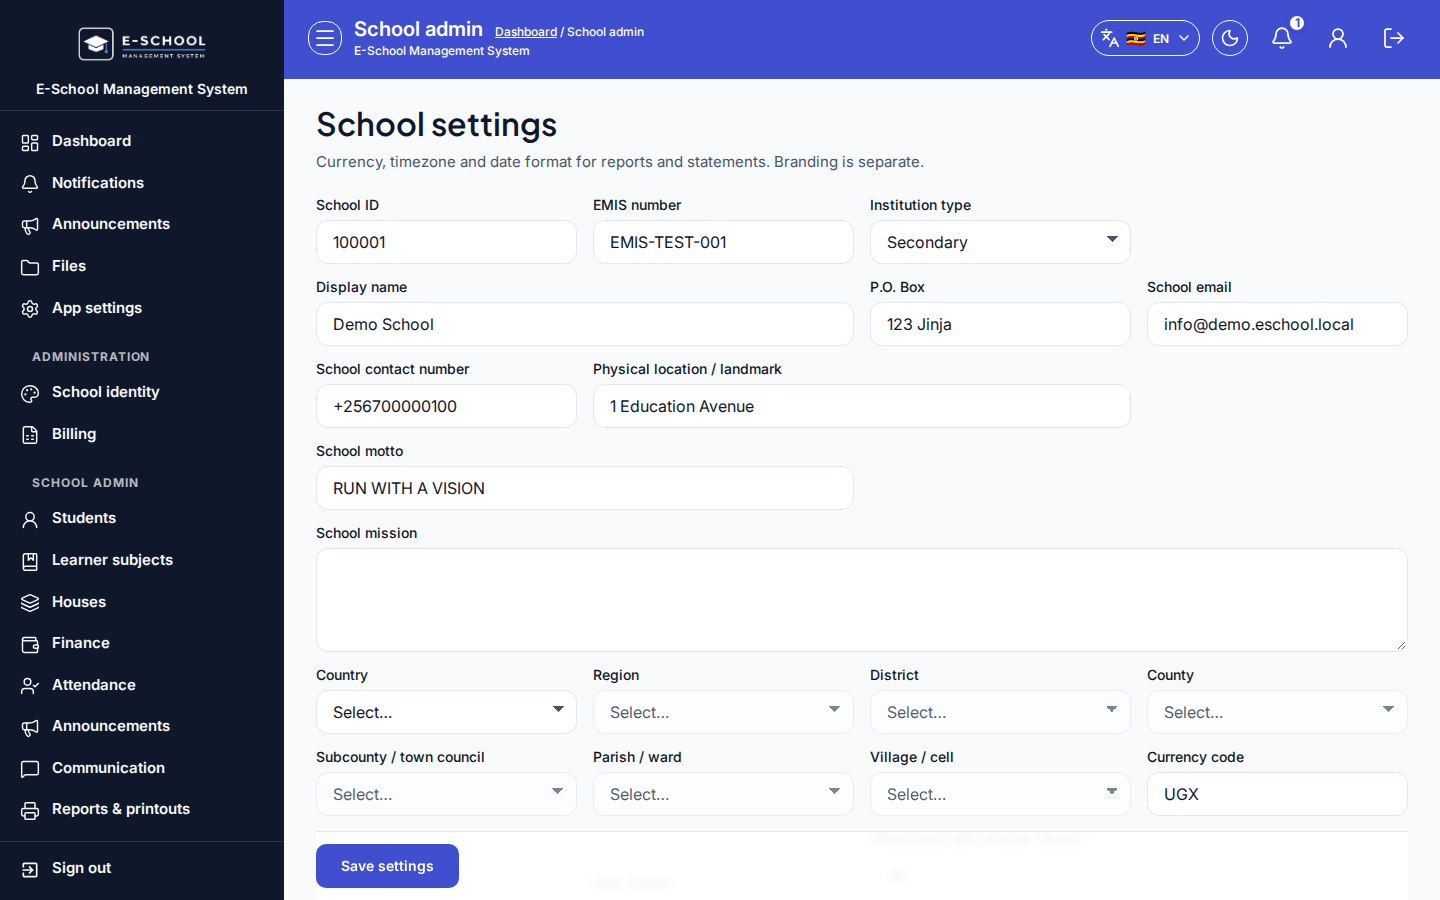 Desktop - focus for step 4
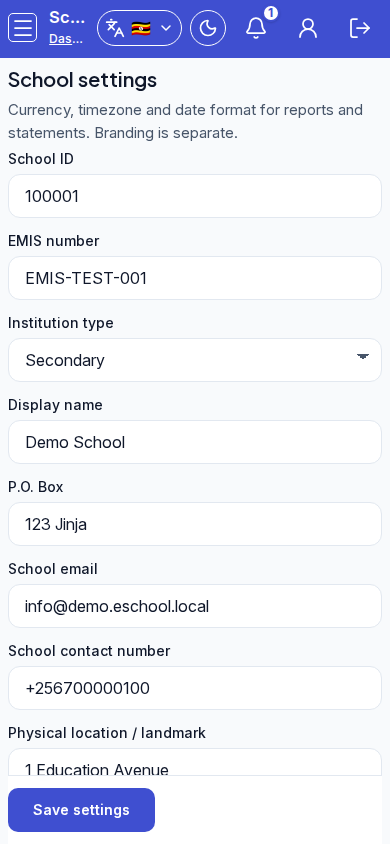 Mobile - focus for step 4
- Click Save settings. Use the Branding hint when you need the school badge.
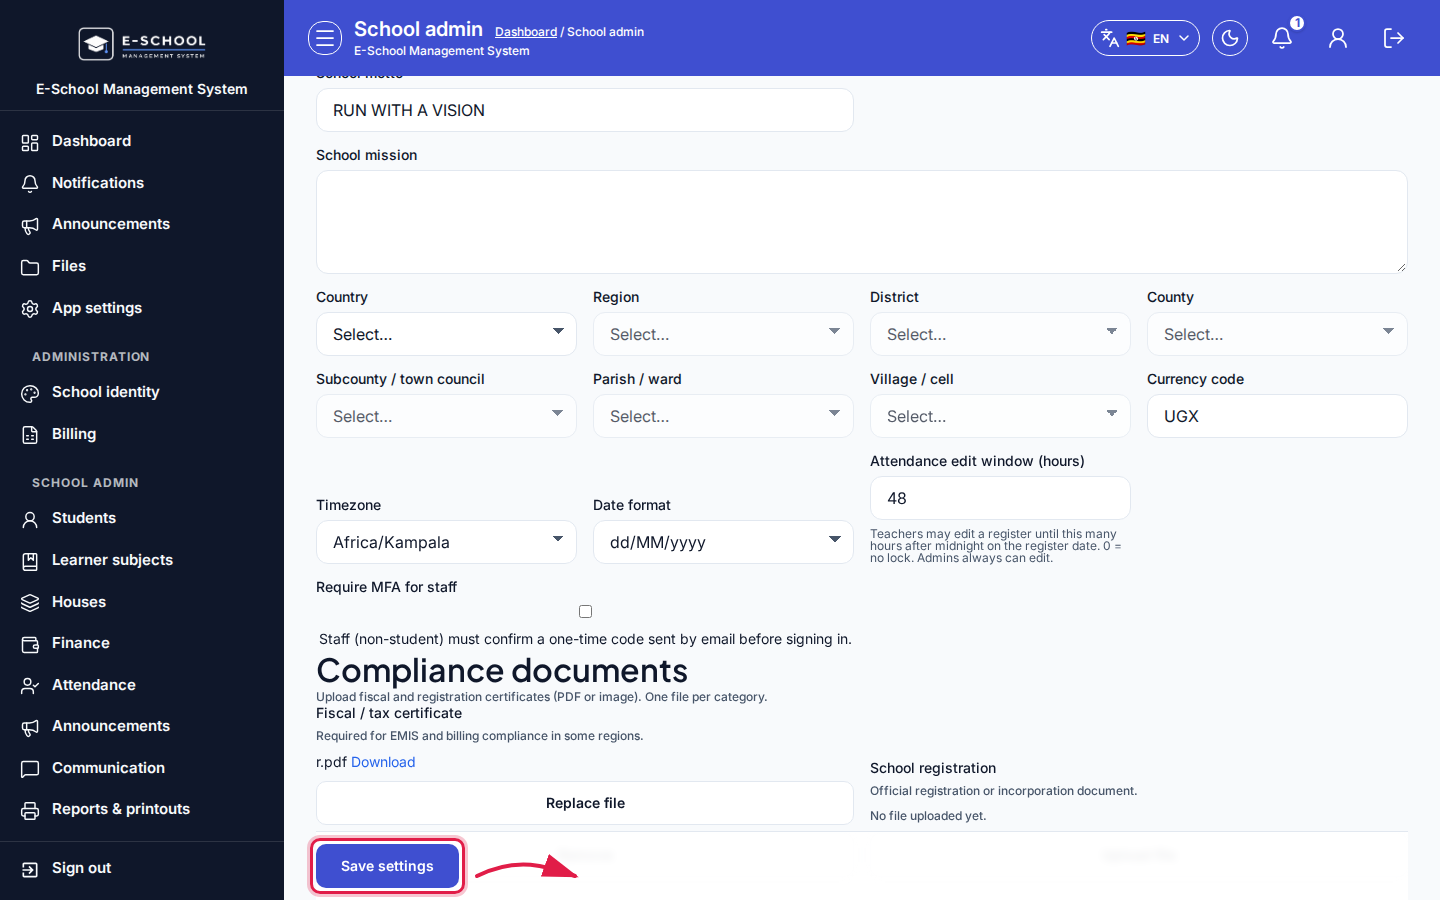 Desktop - focus for step 5
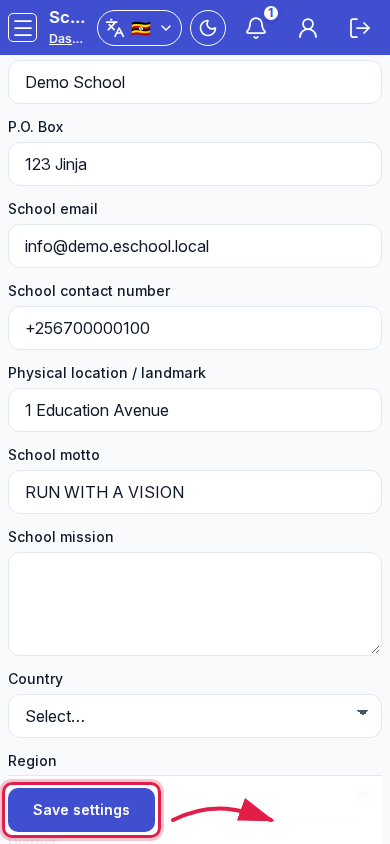 Mobile - focus for step 5
Fields and actions
- School ID (read-only), EMIS, Institution type, Display name (read-only)
- Contacts, motto, mission, geo cascade
- Currency, Timezone, Date format, Attendance edit window, Require MFA for staff
- Compliance documents: Upload / Replace / Remove / Download
- Save settings
Common mistakes
- Changing School ID expectations after credentials were printed (ID is fixed)
- Leaving without Save settings
- Uploading compliance files but never saving the form
- Expecting logo upload here (use Branding)