School setup
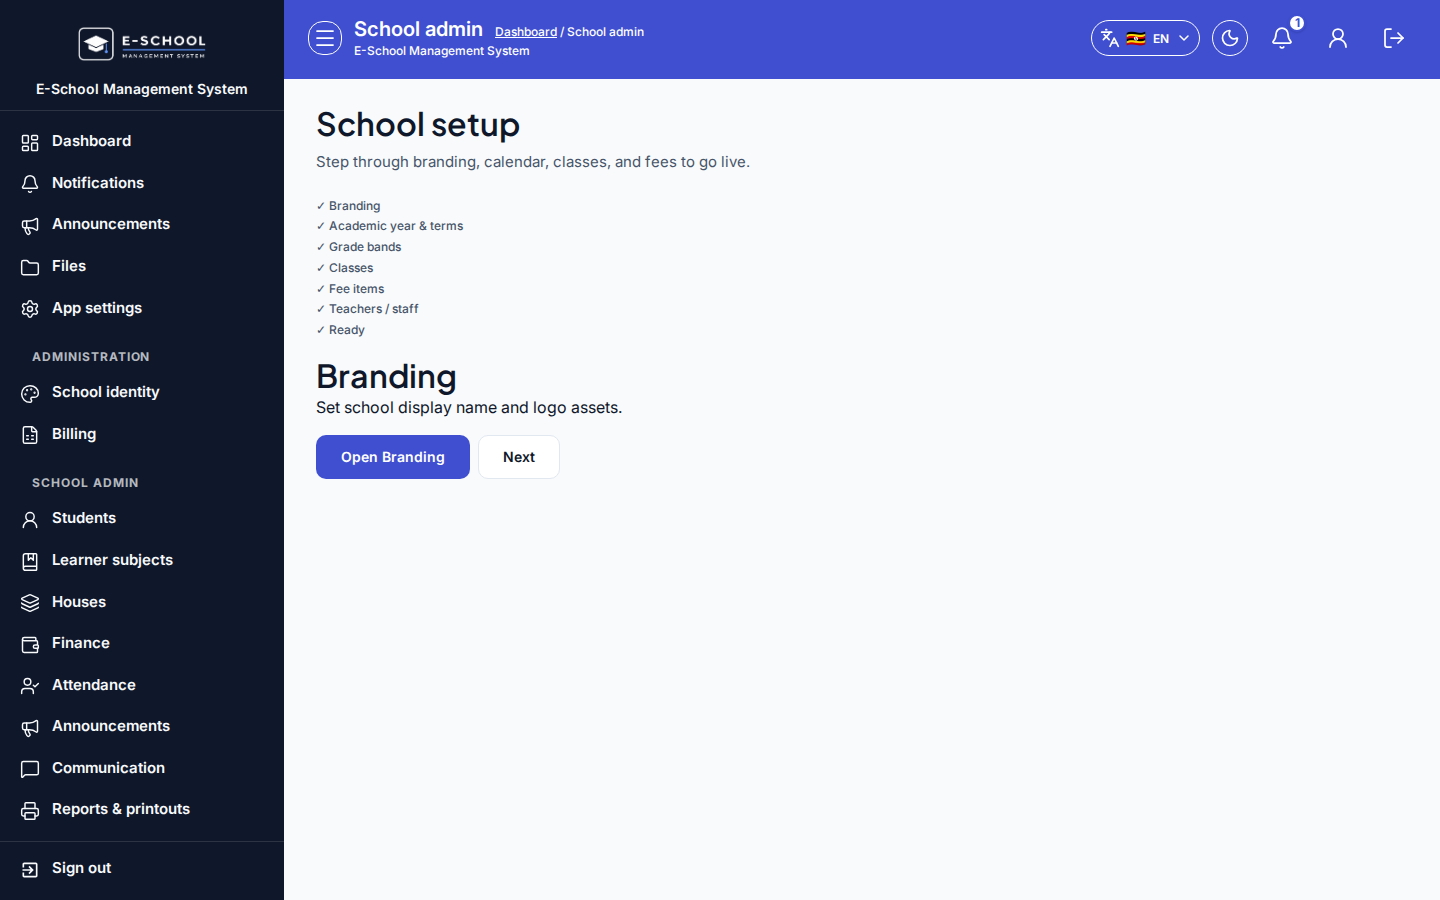
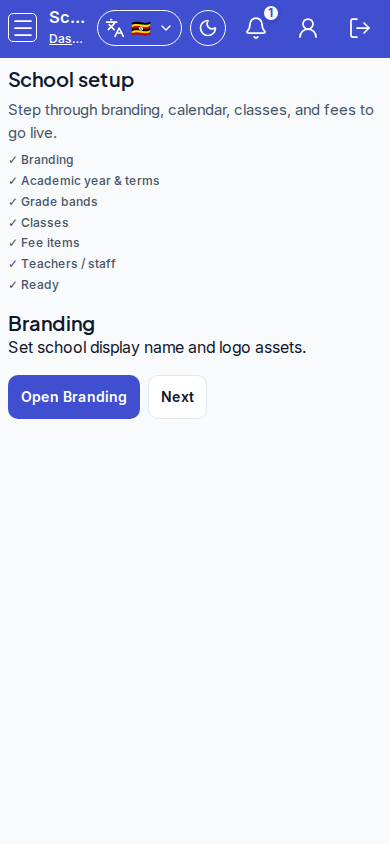
First-run checklist that walks ADMIN through branding, calendar, classes, fees, and staff before go-live.
Who can use this
- ADMIN
Path
/admin/setup
Dependencies
- Sign in as ADMIN on a new or incomplete school.
- Each step opens the real screen; complete work there, then return and press Next.
Screenshot
Steps
- Open School setup at
/admin/setupas ADMIN.
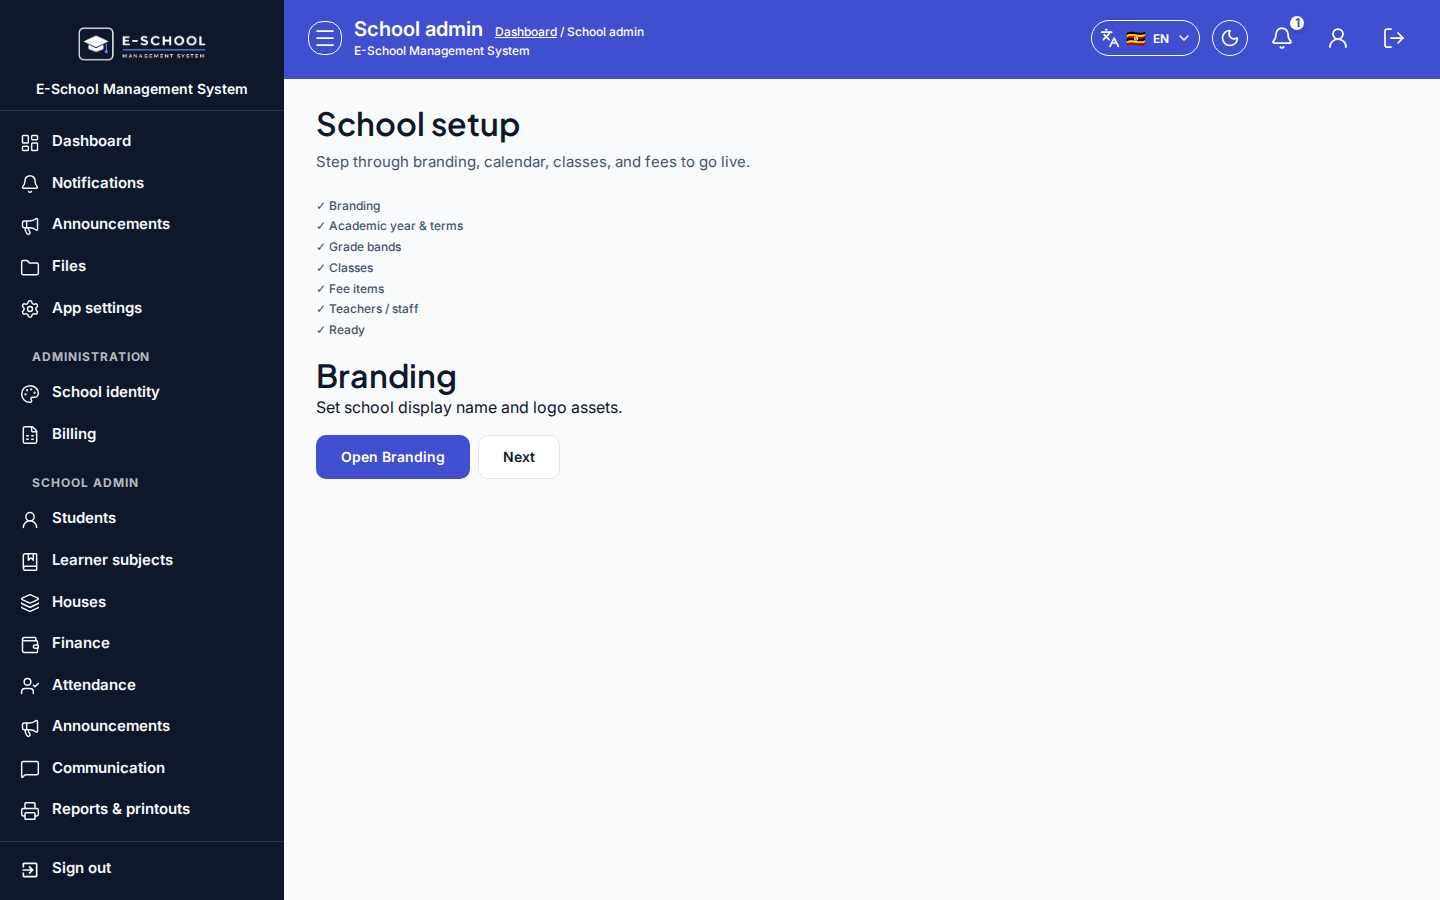 Desktop - focus for step 1
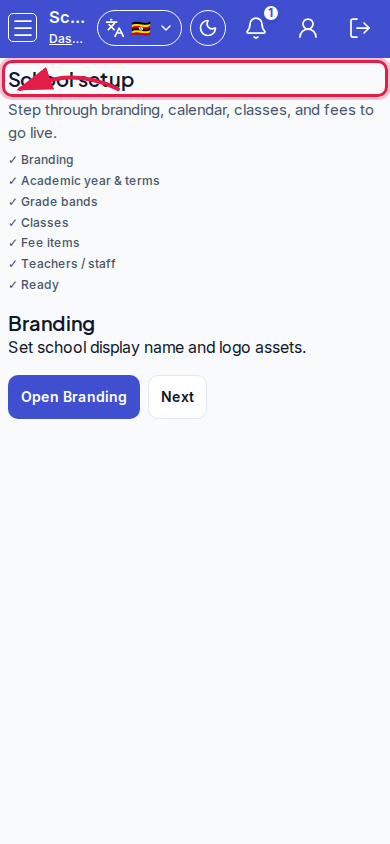 Mobile - focus for step 1
- Work the checklist: Branding → Academic year & terms → Grade bands → Classes → Fee items → Teachers / staff → Ready.
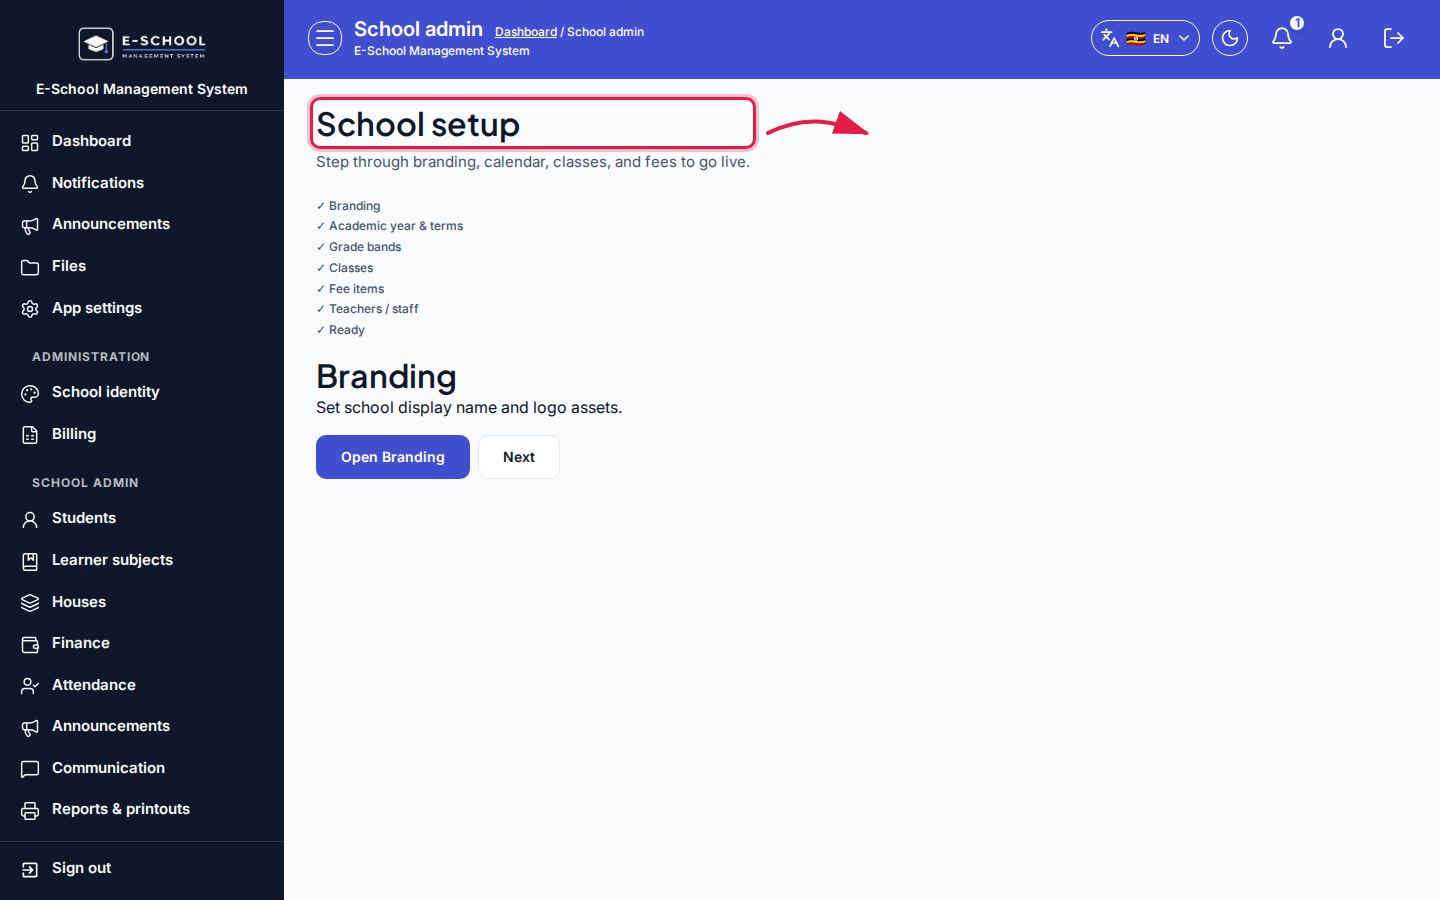 Desktop - focus for step 2
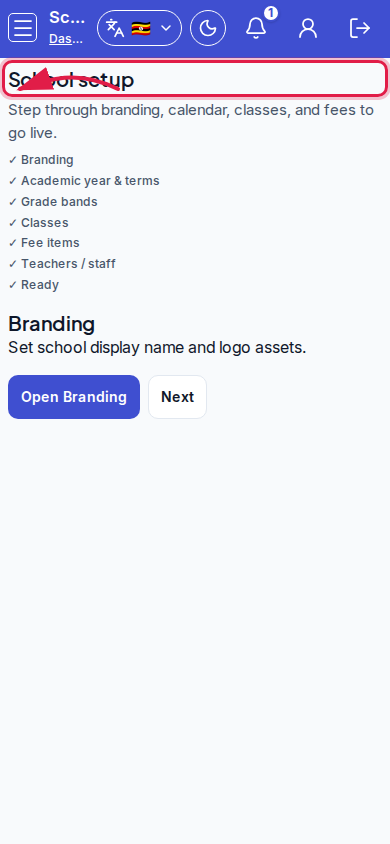 Mobile - focus for step 2
- On each step, click Open (step name) to finish that screen, then Back / Next on the wizard.
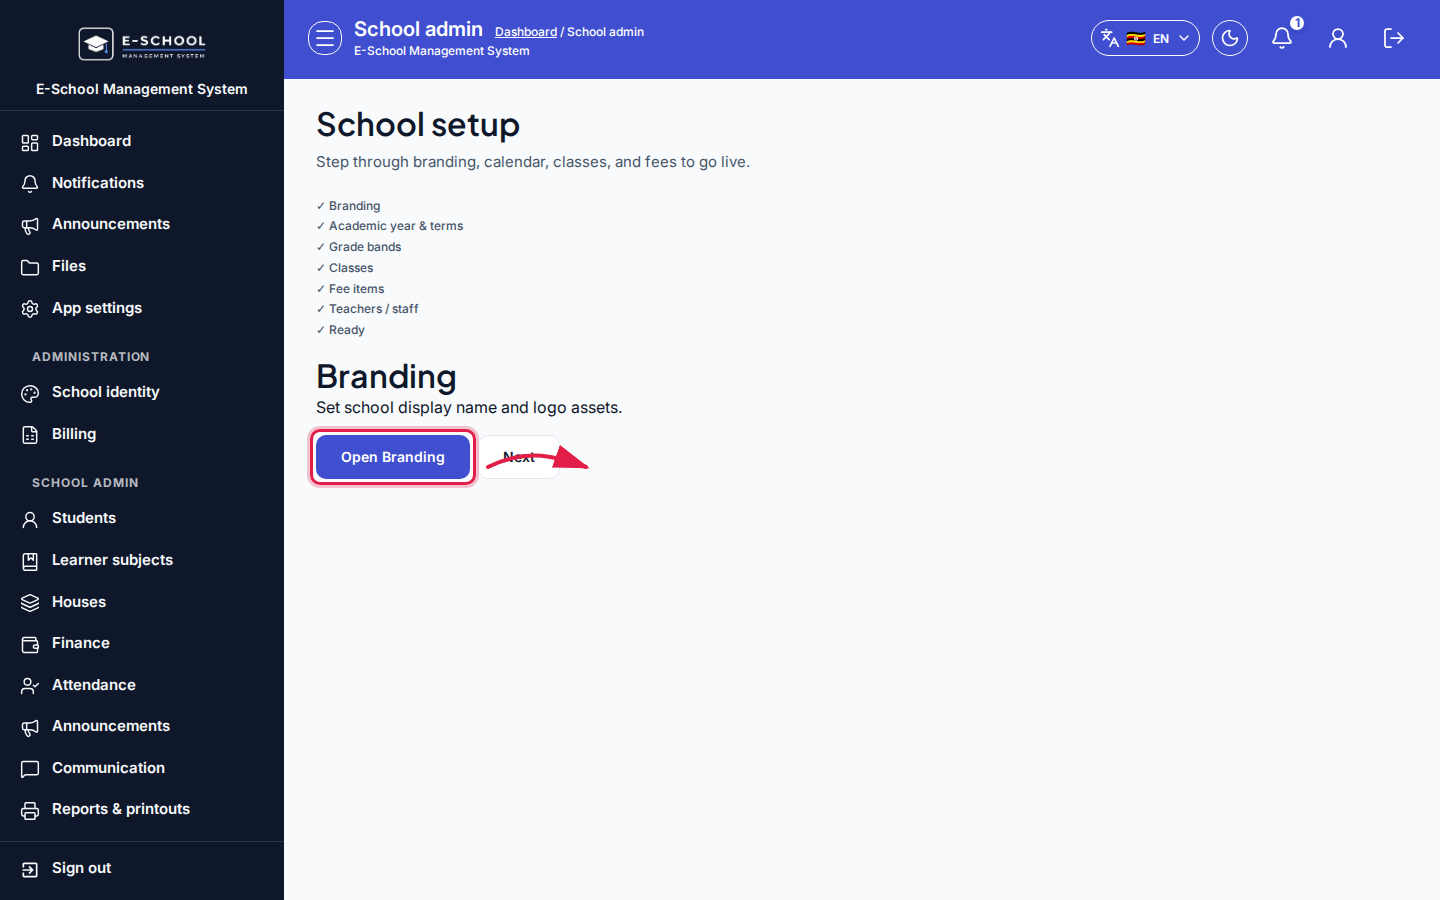 Desktop - focus for step 3
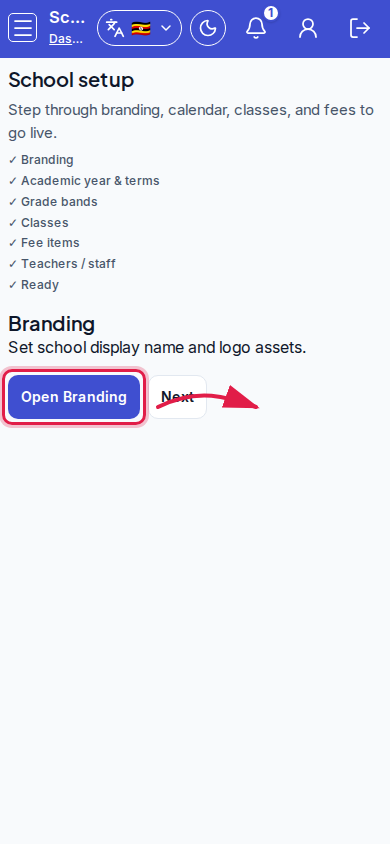 Mobile - focus for step 3
- Required steps must be complete before the Ready step unlocks.
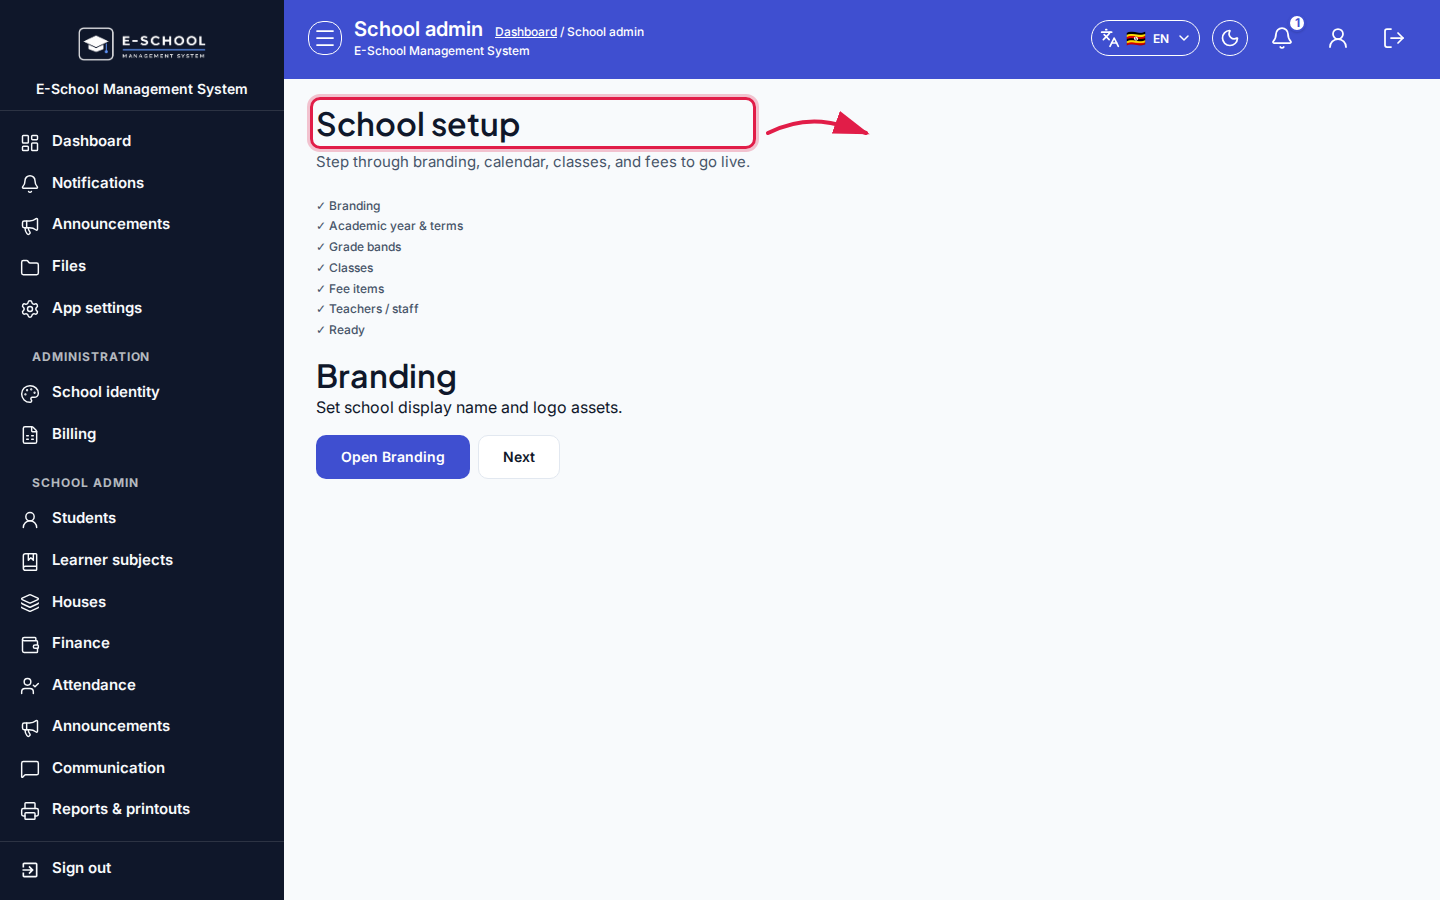 Desktop - focus for step 4
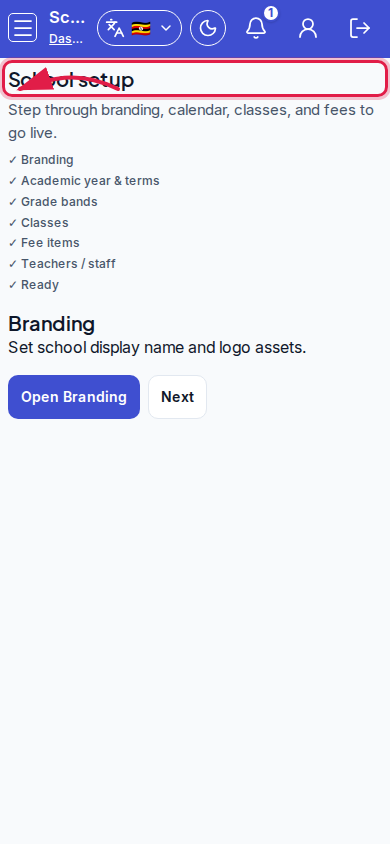 Mobile - focus for step 4
- On Ready, click Go to dashboard.
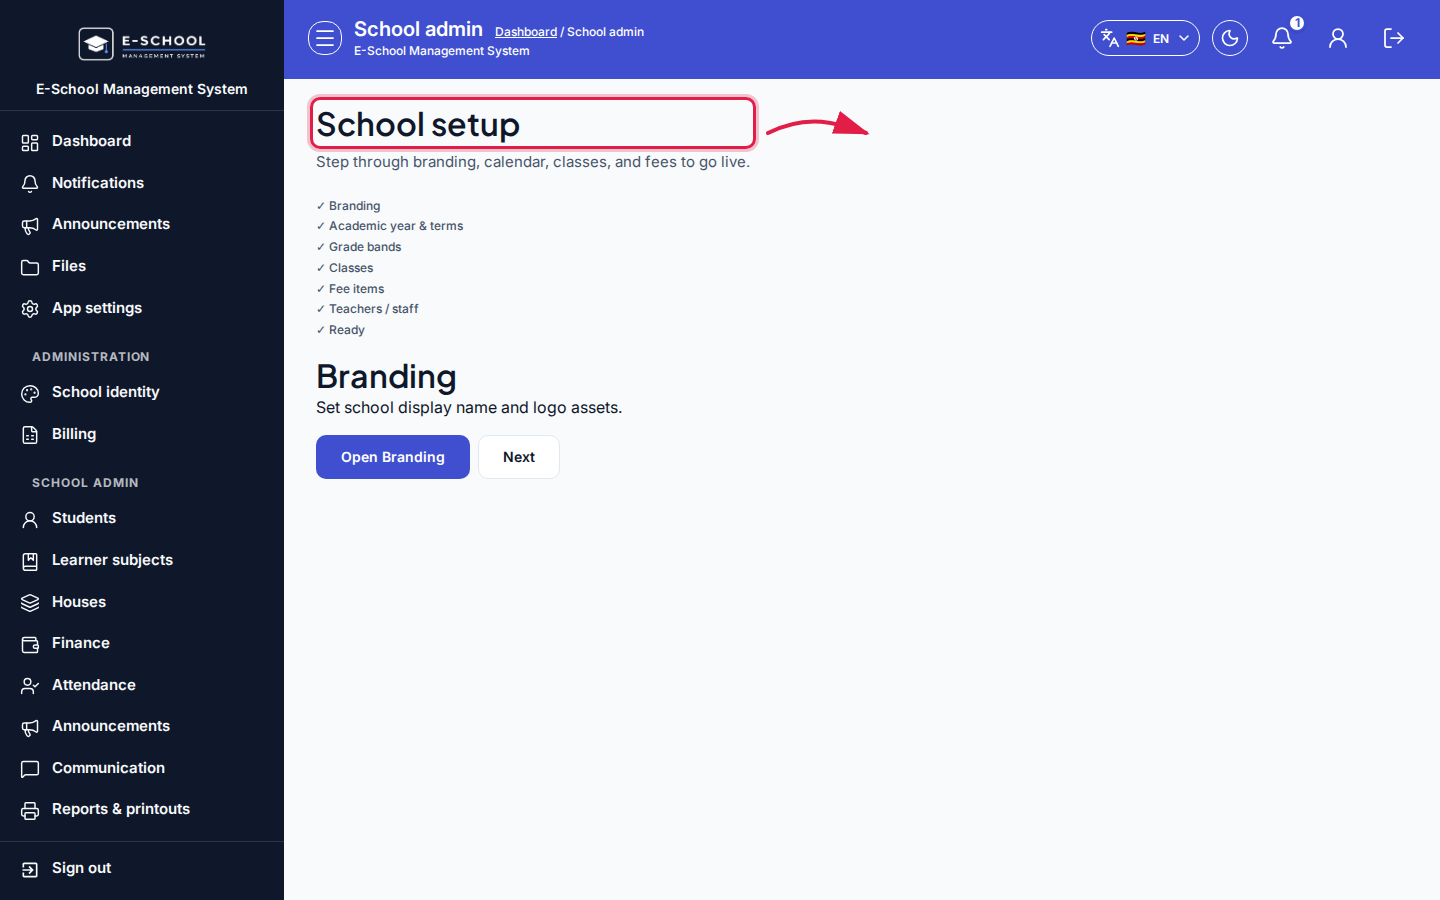 Desktop - focus for step 5
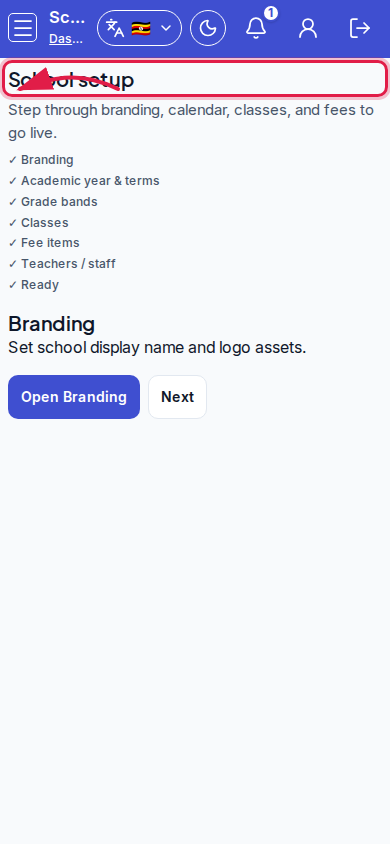 Mobile - focus for step 5
Fields and actions
- Checklist steps: Branding, Academic year & terms, Grade bands, Classes, Fee items, Teachers / staff, Ready
- Open (per step) / Back / Next / Go to dashboard
Common mistakes
- Closing the wizard early and skipping calendar or fee items
- Assuming the wizard creates classes automatically without opening Classes
- Marking Ready while fee items or staff are still empty