New Admission
Front-office admit wizard: identity, enrollment, guardian, then optional subjects. Do not admit the same learner twice.
Who can use this
- SECRETARY
- ADMIN
Path
/secretary/students/admit
Dependencies
- Classes and an academic year must exist (Classes, Academic calendar).
- After admit, finish Learner subjects for electives and confirm fees with Finance.
- Guardian contact on this form does not create a parent portal login by itself.
Screenshot
Steps
- Open New Admission at
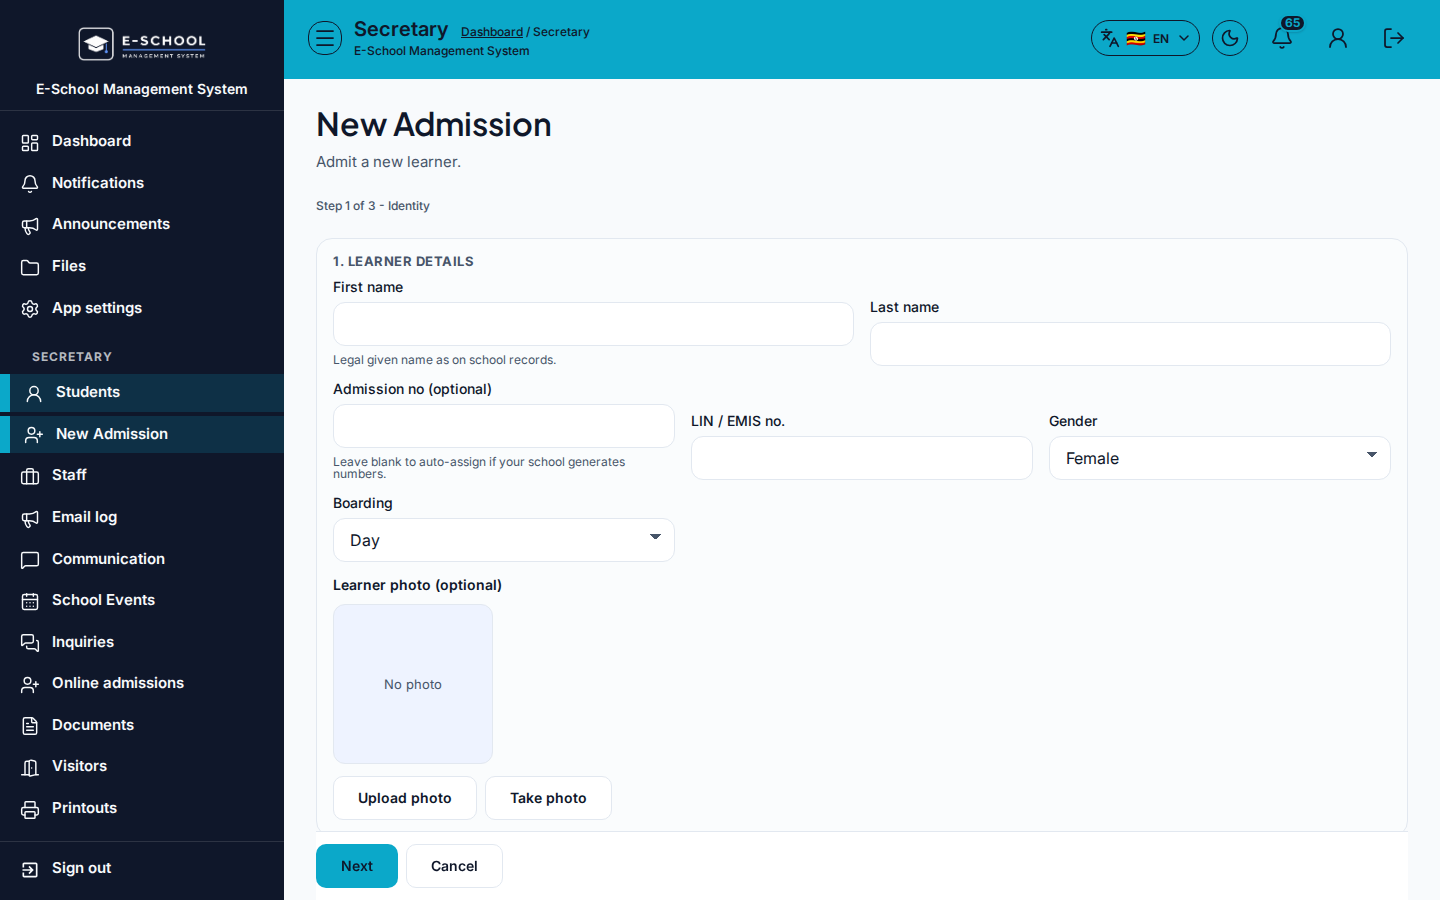
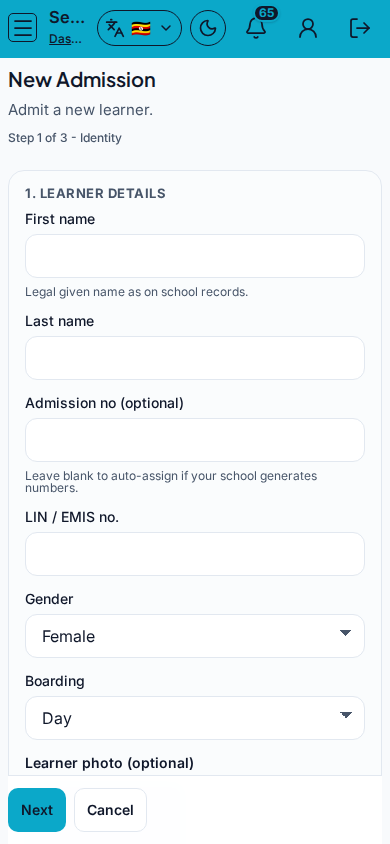
/secretary/students/admitas SECRETARY. - Step 1 of 3 - Identity: enter first/last name, gender, boarding, optional admission number (blank = auto), and photo (Upload photo / Take photo).
- Step 2 of 3 - Enrollment: select class and academic year. Adjust subject ticks (core Form 1/2 subjects may already be selected).
- Step 3 of 3 - Guardian: enter guardian name, phone, and optional email for office contact / fee reminders.
- Click Admit. Copy any issued credentials immediately, then review the learner on Students - do not run admit again for the same child.
- Hand off to Admin for learner subjects (if needed) and Finance for fee structures / generate.
Fields and actions
- Steps: Identity / Enrollment / Guardian
- First name, Last name, Admission no (optional), Gender, Boarding
- Class, Academic year, Subjects
- Guardian name / phone / email
- Upload photo / Take photo / Admit
- Review students link after success
Common mistakes
- Closing the credentials dialog without copying School ID / User ID / password
- Wrong class or stream so filters never show the learner
- Expecting guardian email alone to create parent portal access
- Re-admitting instead of editing the existing student
- Skipping photo when your school requires it on printouts